How to add calendars and contacts manually
Once you add a new account in IceWarp Desktop Client it uses SmartDiscover to find necessary configurations on the IceWarp server: ports, protocols, and other settings. After the settings are successfully applied, your email, calendars, contacts, etc., are automatically synchronized.
In case synchronization of calendars or contacts failed and you don't see them in the new account folders, add them manually.
-
Go to
 Menu > Accounts > Add account > Calendar > CalDav
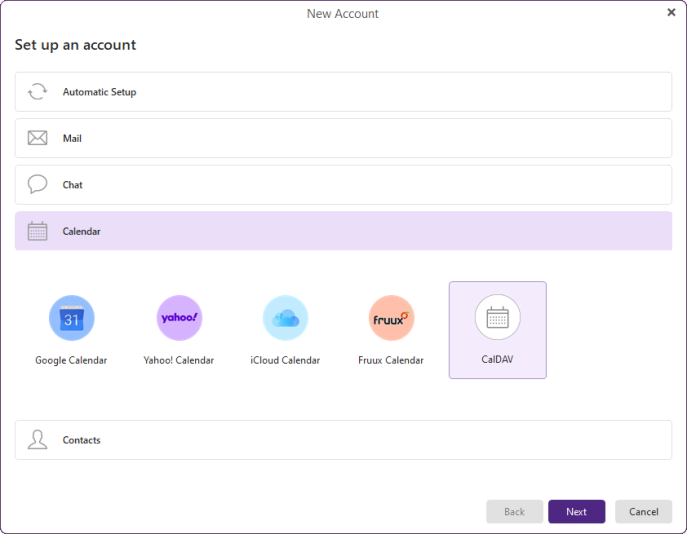
Figure. Calendar setup.
-
First step:
-
In Account address, enter https://mail.{domain name}/webdav/{email}
-
In User name, enter email.
-
In Password, enter password to the email.
-
-
Click Next.
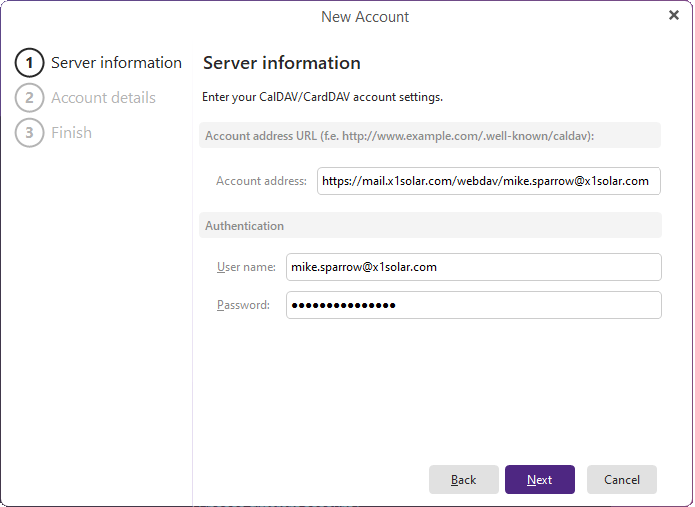
Figure. Server information.
-
Second step:
In Account details, enter email.
Click Next.
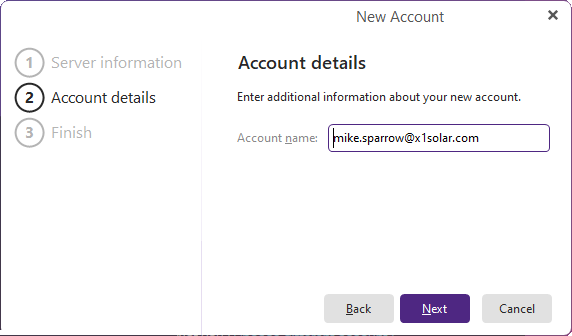
Figure. Account details.
-
Third step:
Click Finish to confirm.
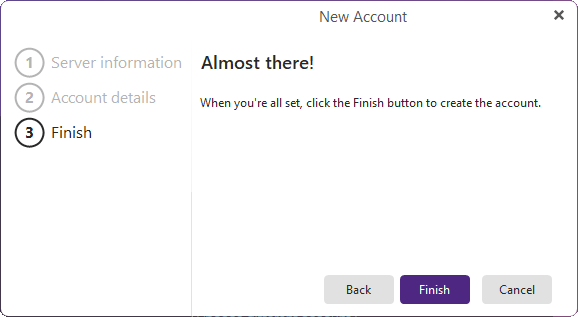
Figure. Finish.
-
In IceWarp Desktop Client, click
 Calendars
  to see your calendar folder in the new account. Wait until all events are synchronized.
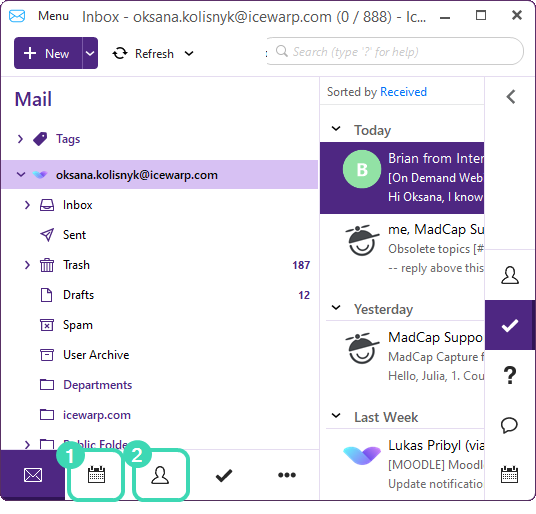
Figure. Calendars and Contacts view.
-
To add Contacts manually, go to
Menu > Accounts > Add account > Contacts > CardDavProceed with the steps 2-5 described above.
-
In IceWarp Desktop Client, click
 Contacts
  to see your contacts folder in the new account. Wait until all contacts are synchronized.

